In recent years, outdoor living spaces have become more than just an extension of our homes—they’ve evolved into vibrant hubs for relaxation, entertainment, and connection. Among the many ways to enhance your backyard, creating a DIY backyard bar stands out as one of the most rewarding and impactful projects you can undertake. Whether you’re hosting summer barbecues, intimate gatherings, or casual weekend hangouts, a backyard bar transforms your space into a functional and stylish venue that invites people to linger longer.
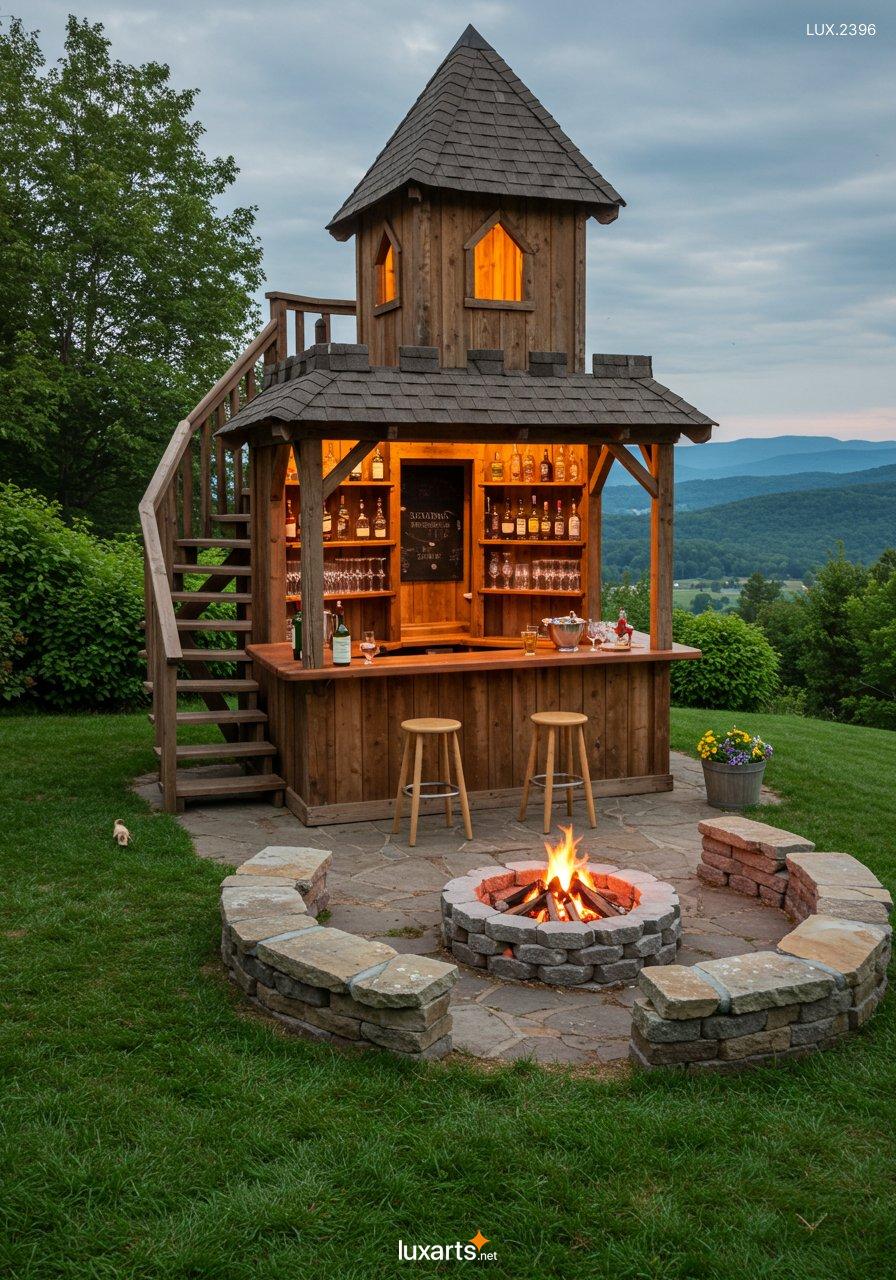
The appeal of a DIY backyard bar lies in its versatility. It allows you to customize every detail to suit your personal style and needs, from rustic charm to sleek modernity. Beyond aesthetics, it provides practical benefits like easy access to refreshments, additional seating, and a designated area for socializing. Plus, building your own bar gives you the satisfaction of crafting something unique with your own hands while potentially saving money compared to hiring professionals.
This article will guide you through every step of creating your dream DIY backyard bar , offering tips on planning, design, construction, and decoration. By the end, you’ll be equipped with all the knowledge you need to bring this exciting project to life and elevate your outdoor entertaining experience.
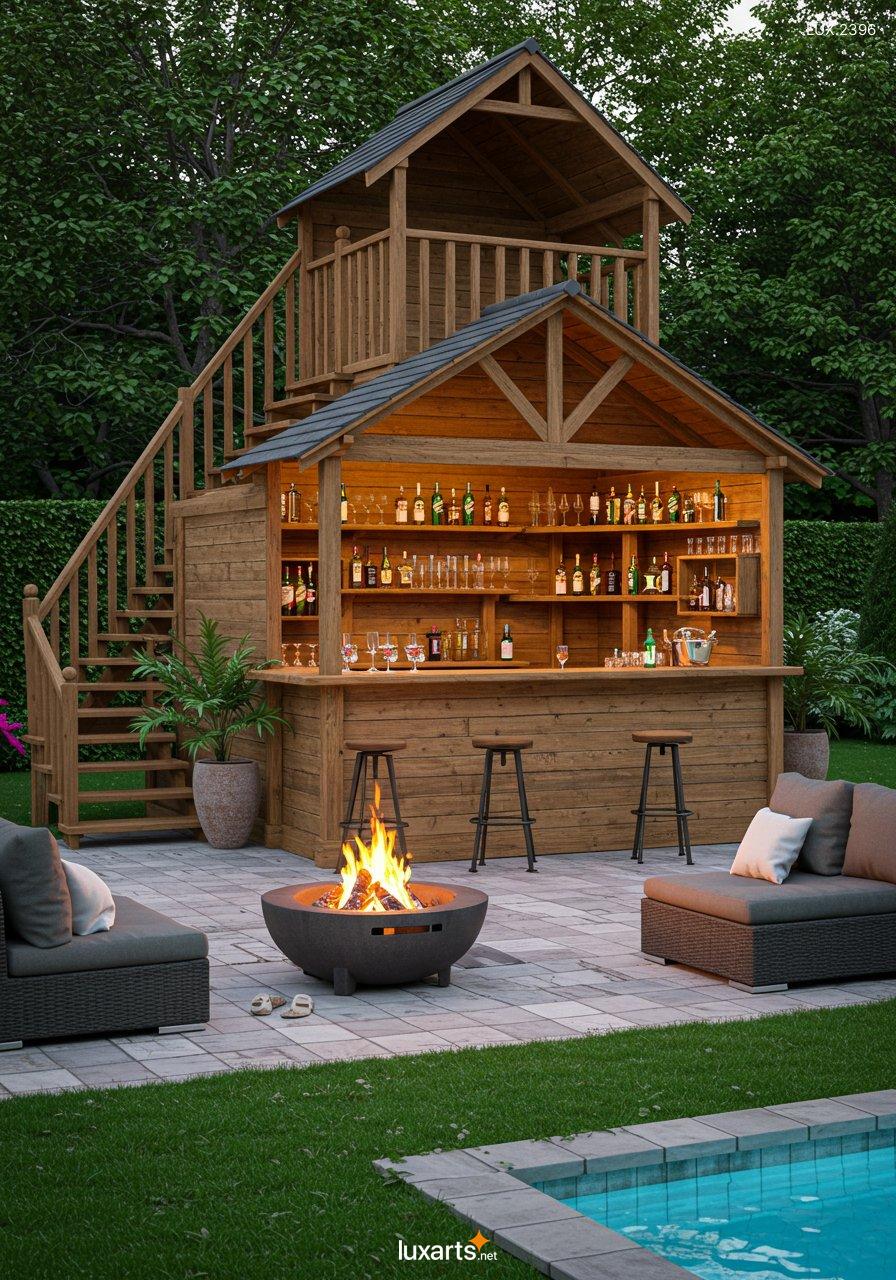
Creative Design Inspiration: Crafting a Unique DIY Backyard Bar
When designing your DIY backyard bar , creativity is key. The possibilities are endless, and drawing inspiration from various sources can help you create a truly one-of-a-kind space. Here are some creative ideas to spark your imagination:
Themed Bars
Consider giving your bar a specific theme that reflects your interests or complements your home’s overall aesthetic. For example:
- Tiki Bar : Transport yourself to a tropical paradise with bamboo accents, colorful umbrellas, and island-inspired decor.
- Speakeasy Style : Channel the Prohibition era with dark woods, brass fixtures, and vintage signage.
- Sports Fan Haven : Incorporate team colors, memorabilia, and a flat-screen TV for game-day viewing.
Multi-Functional Spaces
Think beyond just serving drinks. Your DIY backyard bar could double as a prep station for grilling, a coffee nook for morning relaxation, or even a dessert counter for special occasions. Adding versatility ensures your bar remains useful year-round.
Upcycled Materials
For eco-conscious builders, repurposing old materials is both sustainable and stylish. Use reclaimed wood, salvaged doors, or discarded pallets to construct your bar. Not only does this reduce waste, but it also adds character and charm to the finished product.
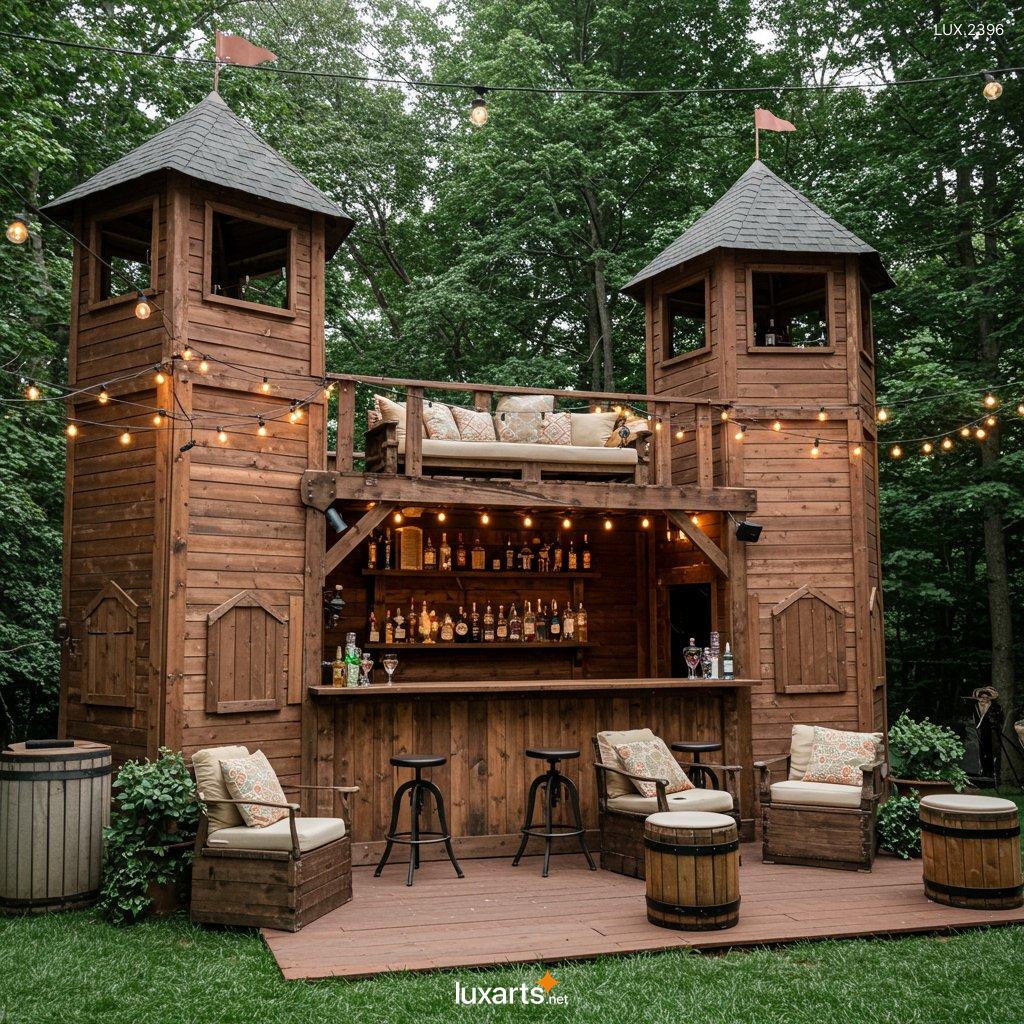
Planning Your DIY Backyard Bar: Setting the Foundation for Success
Before diving into construction, careful planning is essential to ensure your DIY backyard bar meets both your functional requirements and aesthetic preferences. Start by considering the purpose of your bar. Will it primarily serve as a beverage station during parties, or do you envision it as a year-round feature where guests can gather? Understanding how you plan to use the space will help determine its size, layout, and features.
Next, assess your available space. Measure the area where you intend to build the bar, keeping in mind factors such as proximity to your house, accessibility, and existing landscaping. Ideally, the location should offer shade (either naturally or via umbrellas or pergolas) and be easily reachable from your kitchen or grill for convenience. If space is limited, consider compact designs like L-shaped counters or foldable setups that maximize functionality without overwhelming the area.
Budgeting is another critical aspect of planning. While a DIY backyard bar can save costs compared to professional installations, expenses can add up depending on materials, tools, and optional extras like lighting or appliances. Set a realistic budget early on and prioritize must-have elements over nice-to-haves. Research local suppliers for affordable yet durable materials, and don’t hesitate to repurpose items you already own—like old pallets or furniture—to cut costs further.
Finally, sketch out a rough design concept. Include key components such as the counter height, storage options, and any built-in features like shelves or refrigeration units. This blueprint will serve as your roadmap throughout the project, ensuring everything comes together seamlessly.
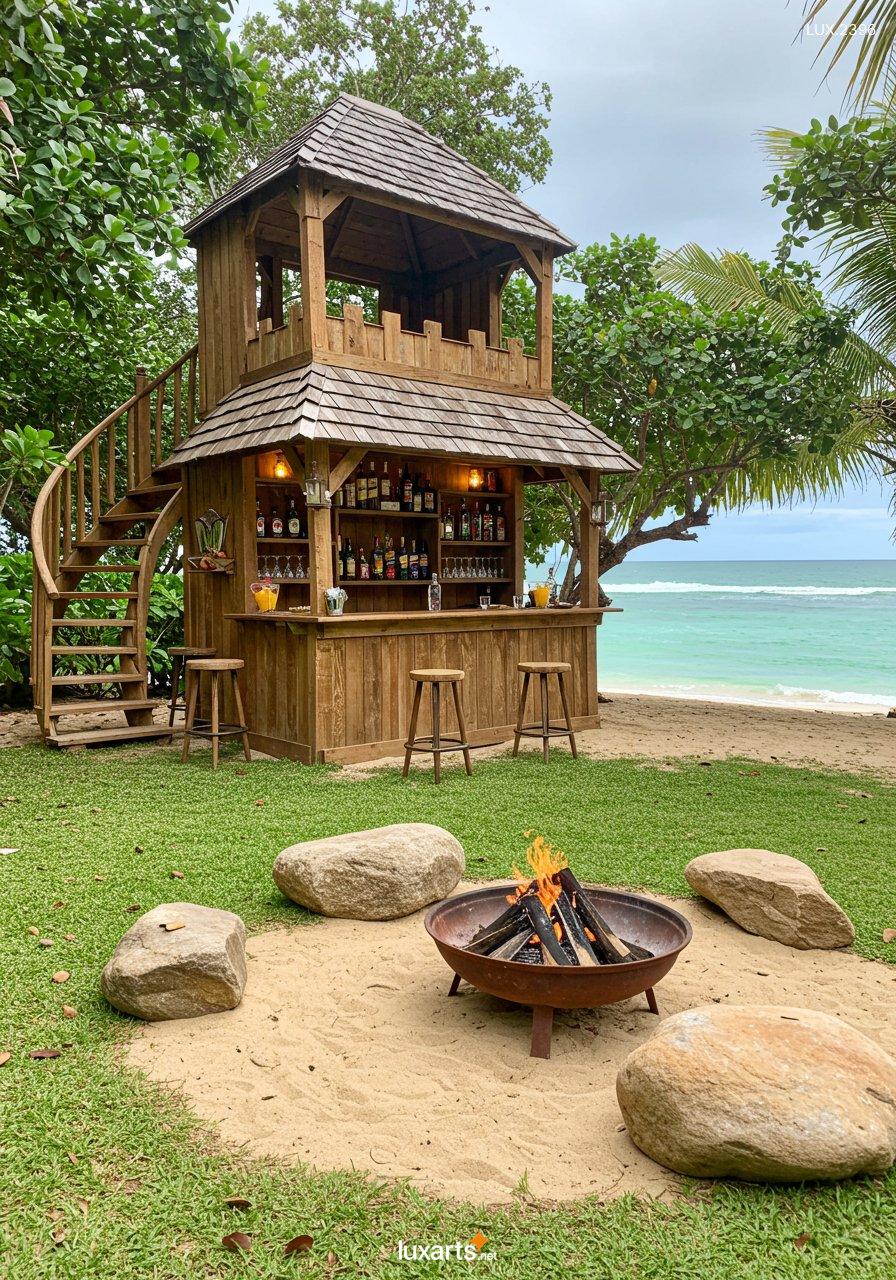
Design Ideas for Your DIY Backyard Bar: From Rustic to Modern
The design of your DIY backyard bar plays a pivotal role in setting the tone for your outdoor space. With countless styles to choose from, selecting one that complements your home’s architecture and reflects your personality is crucial. Below are some popular design ideas to inspire your creativity:
Rustic Elegance
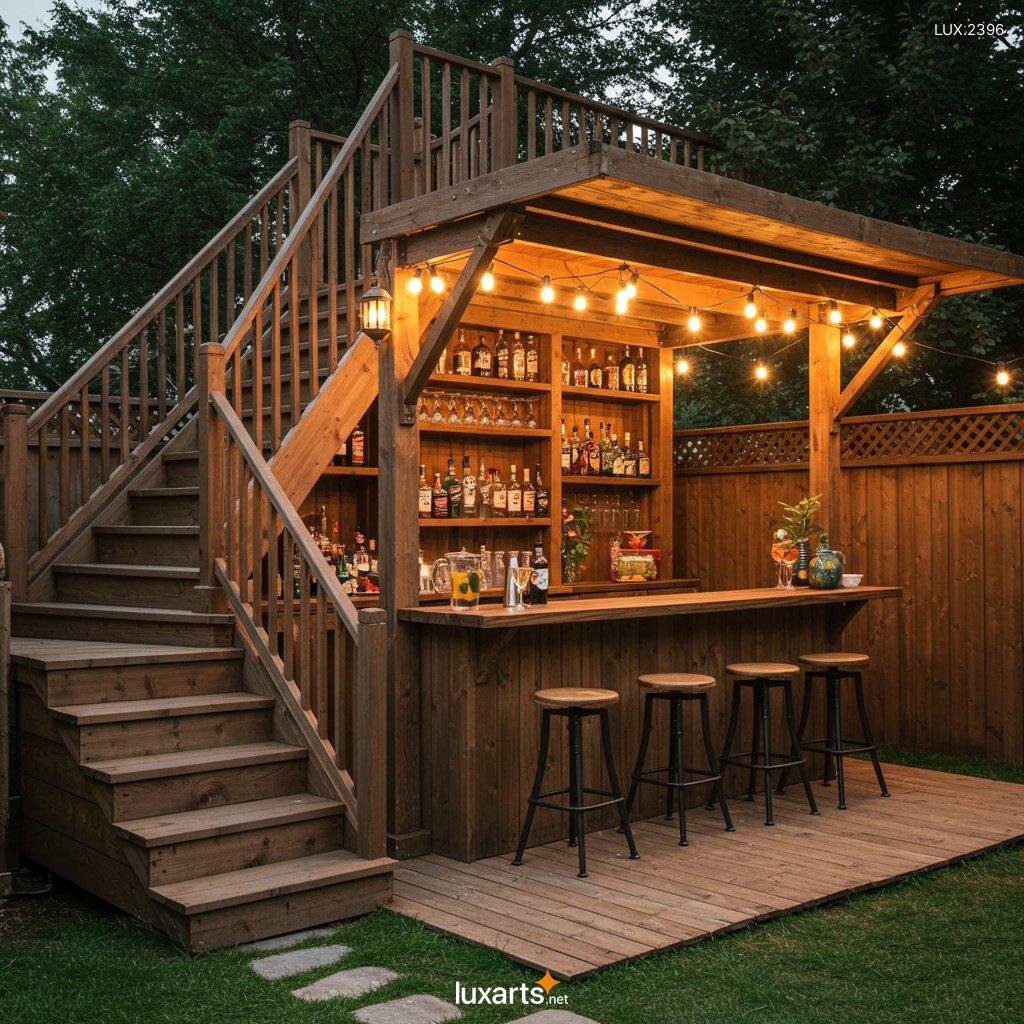
For those who love the warmth and character of natural materials, a rustic-themed DIY backyard bar might be the perfect choice. Incorporate reclaimed wood for the countertop and shelving, paired with wrought iron accents for a rugged yet refined look. Add mason jar pendant lights or vintage signage to complete the cozy, farmhouse vibe.
Tropical Paradise
Transform your backyard into a beachside retreat with a tiki-inspired bar. Use bamboo or rattan panels for the structure, and top the counter with colorful tiles reminiscent of ocean waves. Decorate with string lights, potted palms, and tropical prints to evoke a laid-back island atmosphere.
Sleek Modernism
If contemporary minimalism resonates with you, opt for clean lines and neutral tones. A concrete or stainless steel countertop paired with matte black fixtures creates a sophisticated aesthetic. Integrate LED strip lighting underneath the counter for a subtle glow that enhances the ambiance after sunset.
Industrial Chic
Embrace raw textures and bold contrasts with an industrial-style bar. Exposed brick walls, galvanized metal surfaces, and Edison bulb lighting fixtures lend an edgy, urban feel. This style works particularly well in smaller spaces due to its streamlined design.
Regardless of which theme you select, remember to balance form and function. Ensure there’s ample workspace for mixing drinks, sufficient storage for glassware and supplies, and comfortable seating arrangements for guests. Mixing and matching elements from different styles can also result in a unique, personalized look.
Choosing Colors: Setting the Mood with Your DIY Backyard Bar
Color plays a crucial role in defining the atmosphere of your DIY backyard bar . Selecting the right palette can enhance the ambiance and tie the space together visually. Here are some color combinations to consider:
Warm and Inviting
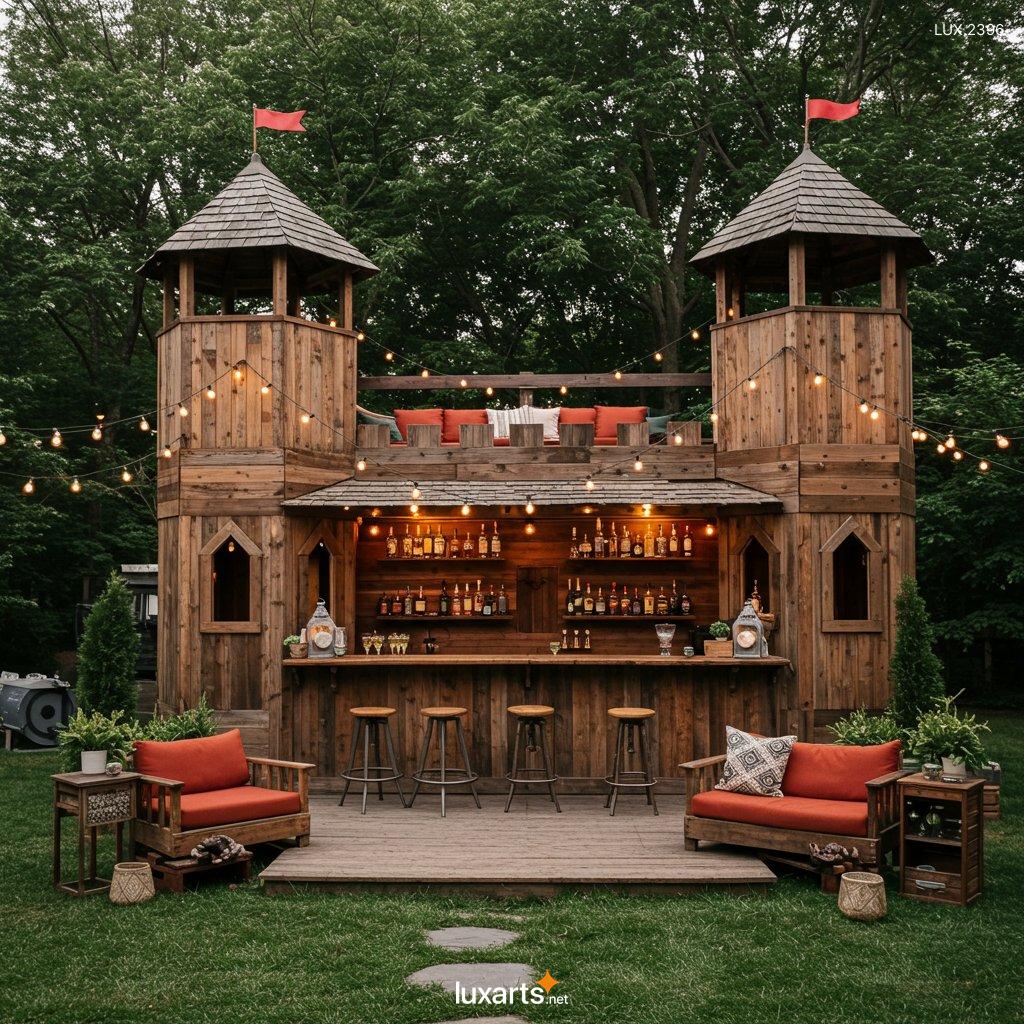
Earthy tones like terracotta, mustard yellow, and deep browns evoke a cozy, welcoming vibe. These colors pair beautifully with natural materials like wood and stone, making them ideal for rustic or farmhouse-style bars.
Cool and Contemporary
For a sleek, modern look, opt for neutral shades such as white, gray, and navy blue. Accents in metallic finishes—like chrome or brushed gold—add a touch of sophistication.
Bold and Playful
If you want your bar to make a statement, go bold with vibrant hues like turquoise, coral, or emerald green. Pair these with contrasting neutrals to keep the design balanced and eye-catching.
Seasonal Flexibility
Choose a base color scheme that works year-round, then swap out accessories like cushions, rugs, and decor items to reflect the changing seasons. This approach keeps your DIY backyard bar feeling fresh without requiring major renovations.
Step-by-Step Construction Guide: Building Your DIY Backyard Bar
Once you’ve finalized your design, it’s time to roll up your sleeves and start building your DIY backyard bar . Follow these steps to construct a sturdy and stylish addition to your outdoor space:
Step 1: Prepare the Base
Begin by leveling the ground where the bar will sit. Lay down a foundation using gravel or concrete pavers to provide stability and prevent moisture damage. If you’re working with wood, treat the base with weather-resistant sealant to prolong its lifespan.
Step 2: Frame the Structure
Using pressure-treated lumber or another durable material, assemble the frame according to your design specifications. Secure joints with screws or brackets for added strength. For taller bars, include support beams or braces to prevent wobbling.
Step 3: Install Countertops
Cut your chosen countertop material to fit the dimensions of the frame. Popular choices include butcher block, granite, or tile-covered plywood. Attach the countertop securely using adhesive and screws, ensuring it sits flush against the frame.
Step 4: Add Shelving and Storage
Maximize functionality by incorporating shelves or cabinets beneath the counter. These can hold bottles, glasses, and other essentials within easy reach. Consider adding hooks for hanging towels or utensils, and install a small fridge or cooler if space permits.
Step 5: Finish Touches
Sand down any rough edges and apply a final coat of paint or stain to protect the wood from the elements. Install hardware like drawer pulls or door handles, and test all moving parts to ensure smooth operation.
Throughout the process, take your time and double-check measurements to avoid costly mistakes. Don’t hesitate to enlist the help of friends or family members—it’s always more fun (and safer) to tackle big projects together!
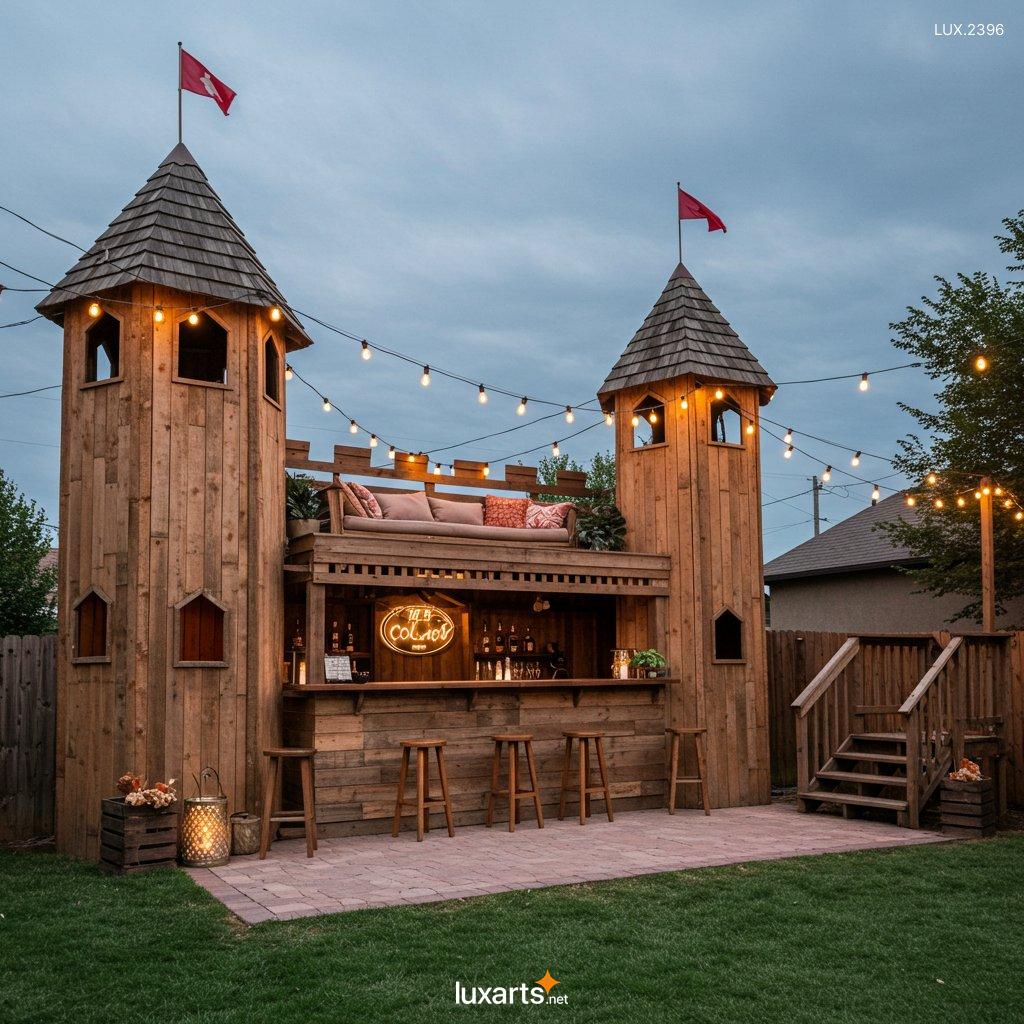
Enhancing Your DIY Backyard Bar: Lighting, Seating, and Decor
A well-designed DIY backyard bar deserves equally thoughtful finishing touches to create an inviting and cohesive environment. Here’s how to enhance your space with lighting, seating, and decor:
Lighting
Lighting sets the mood and extends usability into the evening hours. String lights draped overhead cast a soft, romantic glow, while lanterns or candles add a touch of elegance. For task lighting, consider under-counter LEDs or spotlights focused on the work area. Solar-powered options are eco-friendly and eliminate the need for wiring.
Seating
Comfortable seating encourages guests to relax and stay awhile. Arrange bar stools around the counter, choosing models with weather-resistant cushions for durability. Complement the setup with lounge chairs, benches, or even a hammock nearby for overflow seating.
Decor
Personalize your bar with decorative accents that reflect your taste. Hang artwork or mirrors on adjacent walls, display potted plants or herbs for a pop of greenery, and incorporate themed accessories like cocktail shakers or neon signs. Seasonal decorations—such as pumpkins in fall or twinkling fairy lights in winter—keep the space fresh and festive year-round.
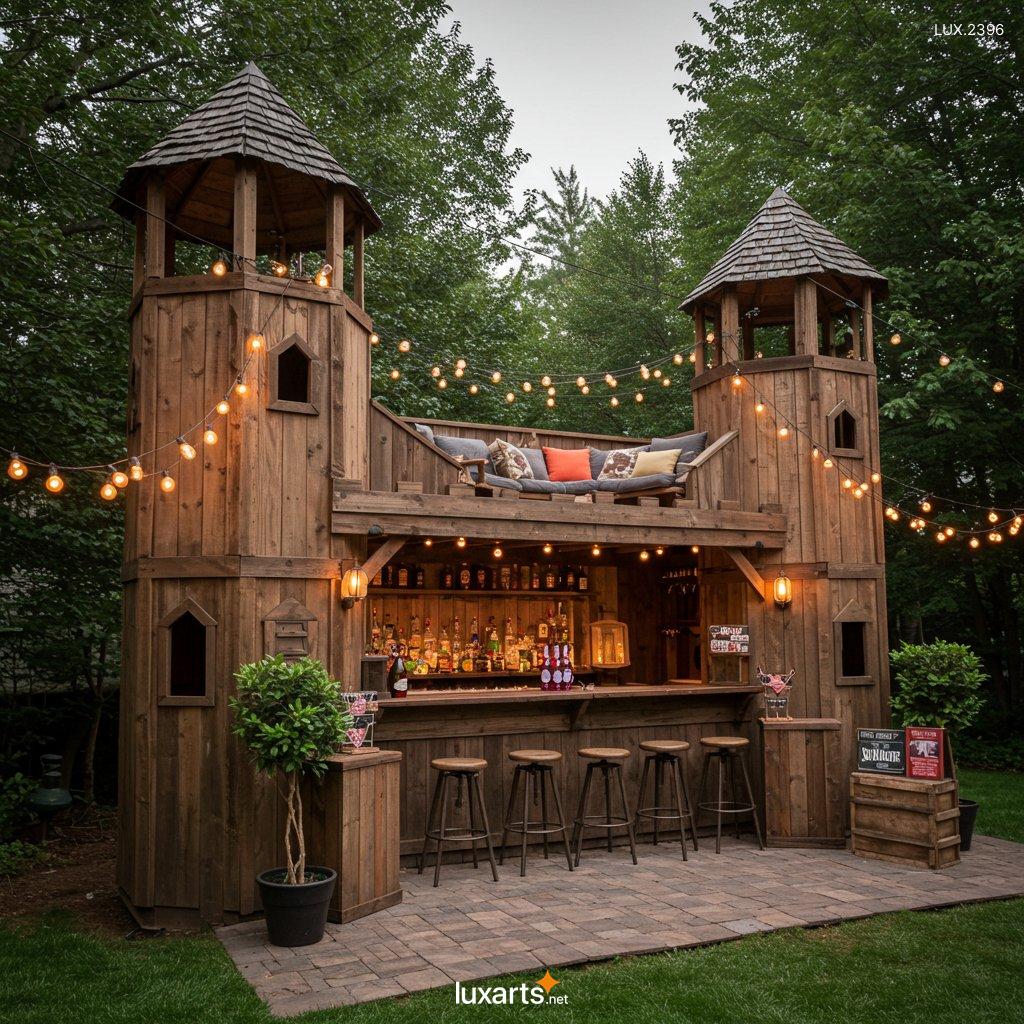
Places of Use: Where Can You Build Your DIY Backyard Bar?
The location of your DIY backyard bar greatly influences its functionality and overall impact. Consider these potential spots based on your yard layout and lifestyle:
Patio Area
If you already have a patio, placing the bar here makes sense logistically. It integrates seamlessly with existing furniture and creates a cohesive entertaining zone.
Poolside Retreat
For homeowners with swimming pools, a poolside bar adds convenience and luxury. Guests can grab drinks without leaving the water, enhancing their relaxation experience.
Garden Nook
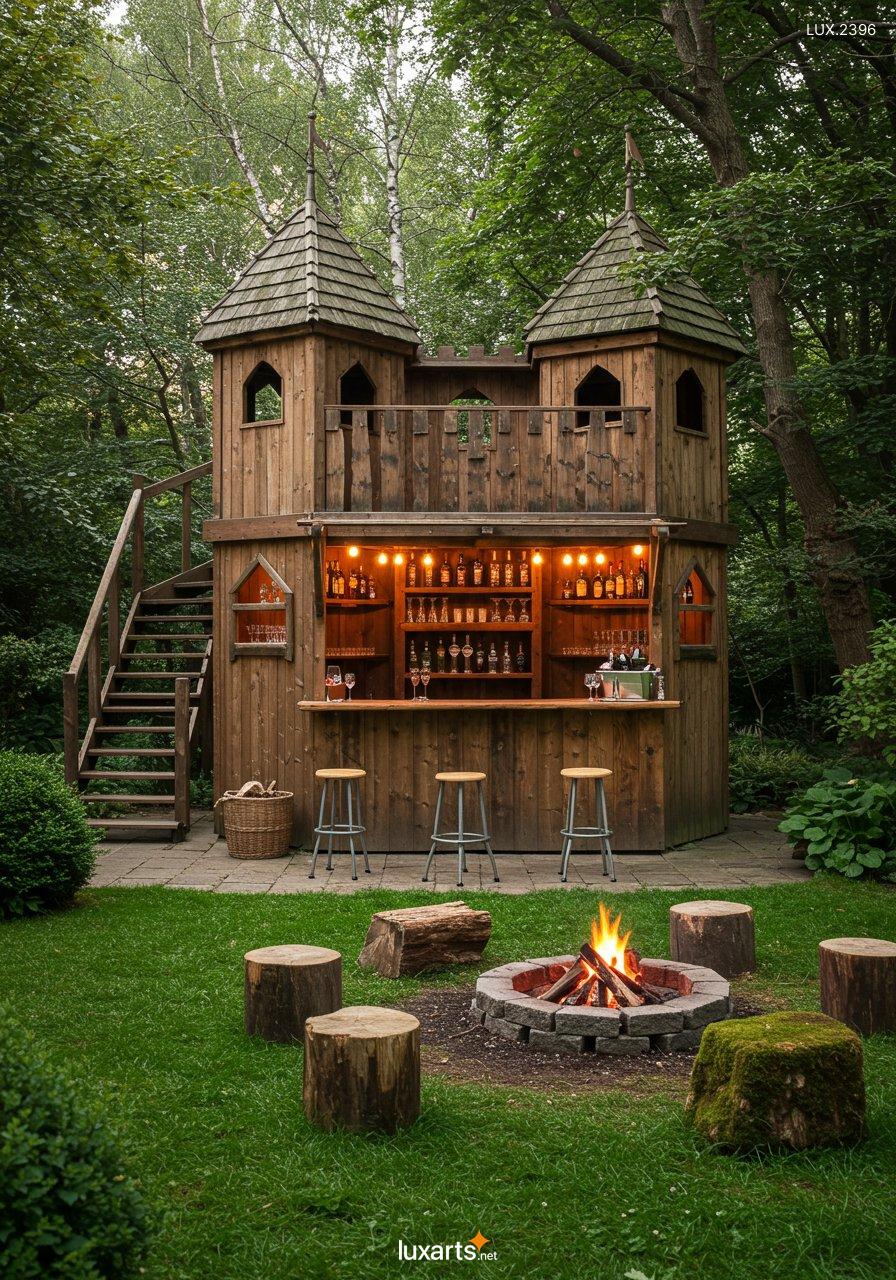
Tucked away among lush greenery, a garden bar feels secluded and serene. Surround it with potted plants, climbing vines, or flower beds to amplify the natural beauty.
Deck Overlook
If your home features a raised deck, positioning the bar along the edge maximizes views of the surrounding landscape. This setup is perfect for enjoying sunsets or stargazing.
Fire Pit Corner
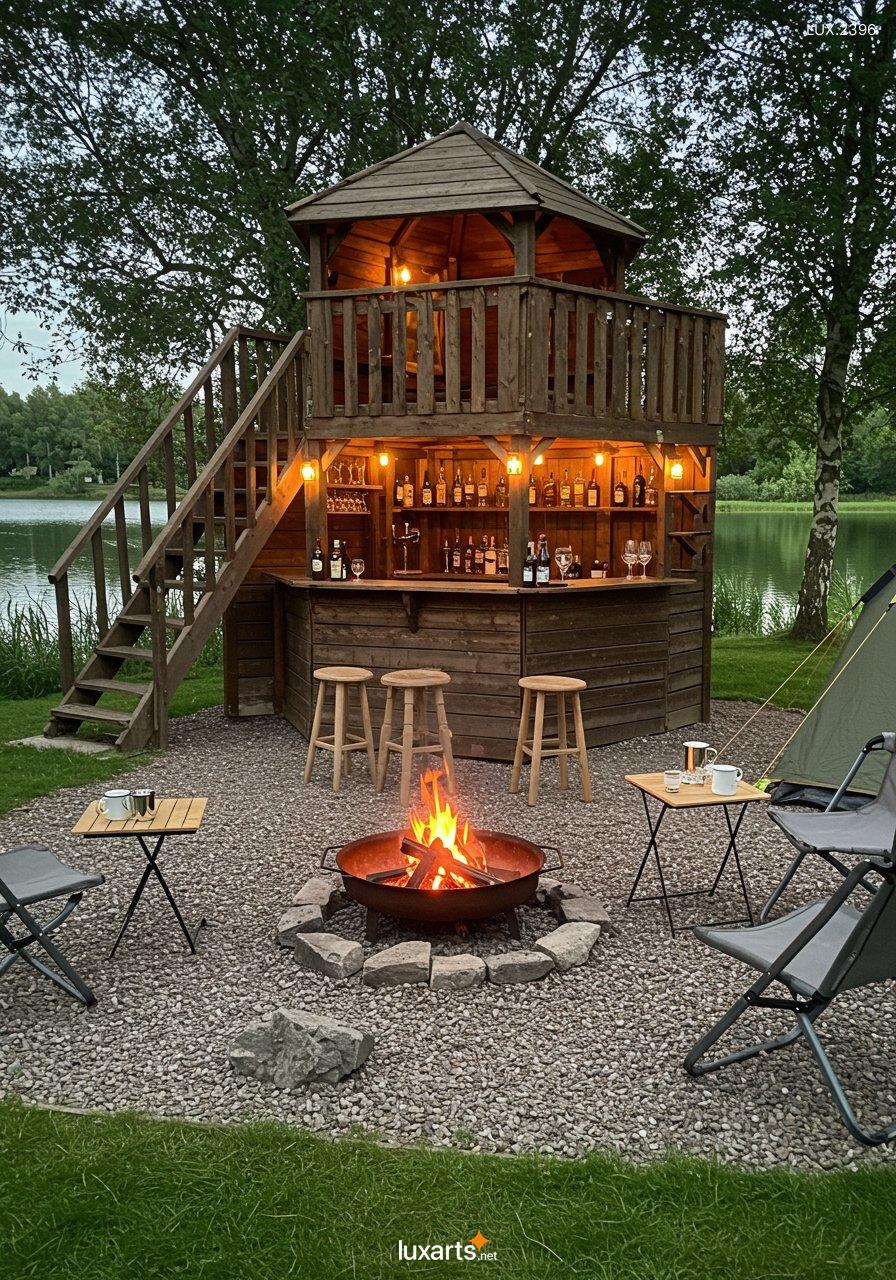
Pairing your bar with a fire pit creates a cozy gathering spot. Guests can sip hot cocoa or cocktails while roasting marshmallows under the stars.
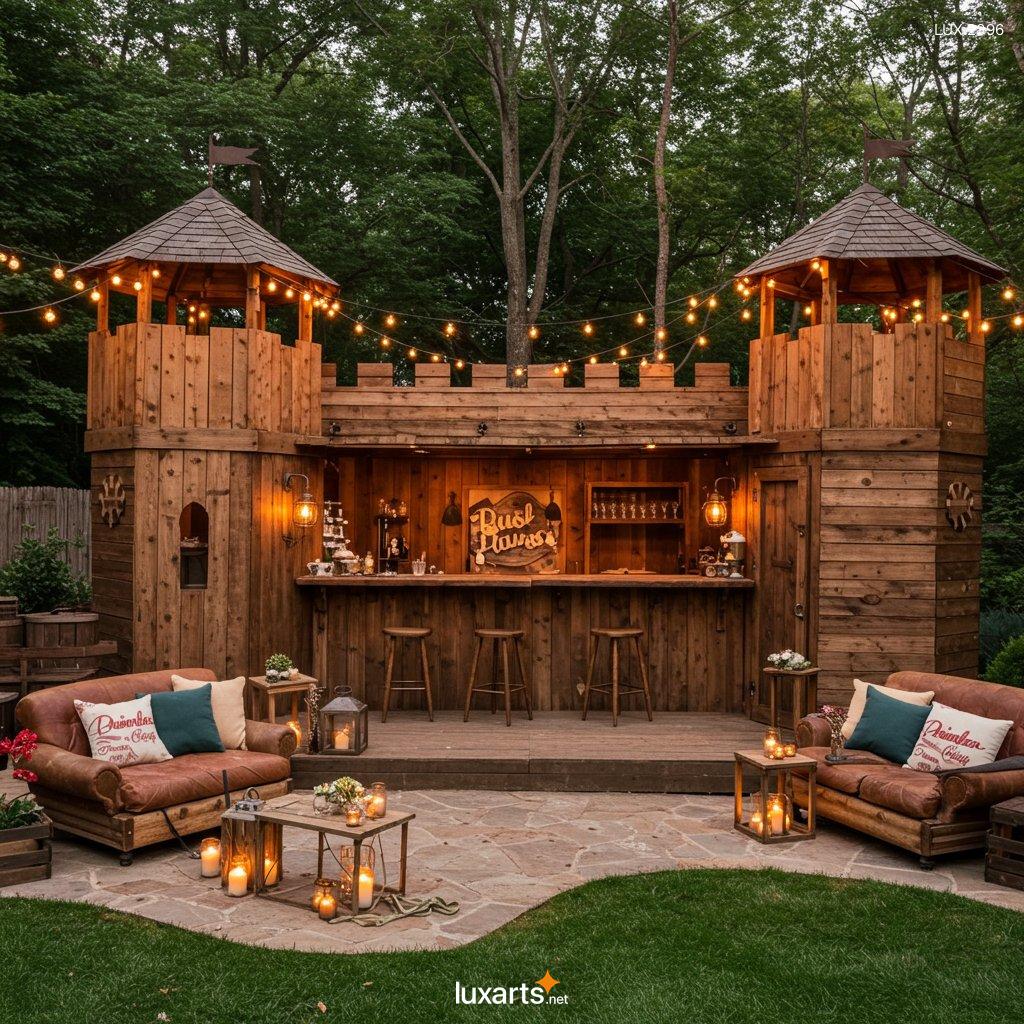
Maintenance Tips: Keeping Your DIY Backyard Bar in Top Shape
To ensure your DIY backyard bar remains beautiful and functional for years to come, regular maintenance is key. Clean the countertops and shelves frequently to prevent stains and buildup, especially after heavy use. Inspect wooden components for signs of wear or rot, and reapply protective coatings as needed. Cover the bar when not in use to shield it from rain, snow, and UV rays.
Additionally, store delicate items like glassware indoors during harsh weather conditions. If your bar includes electrical components like lighting or a mini-fridge, check wiring periodically to ensure safety.
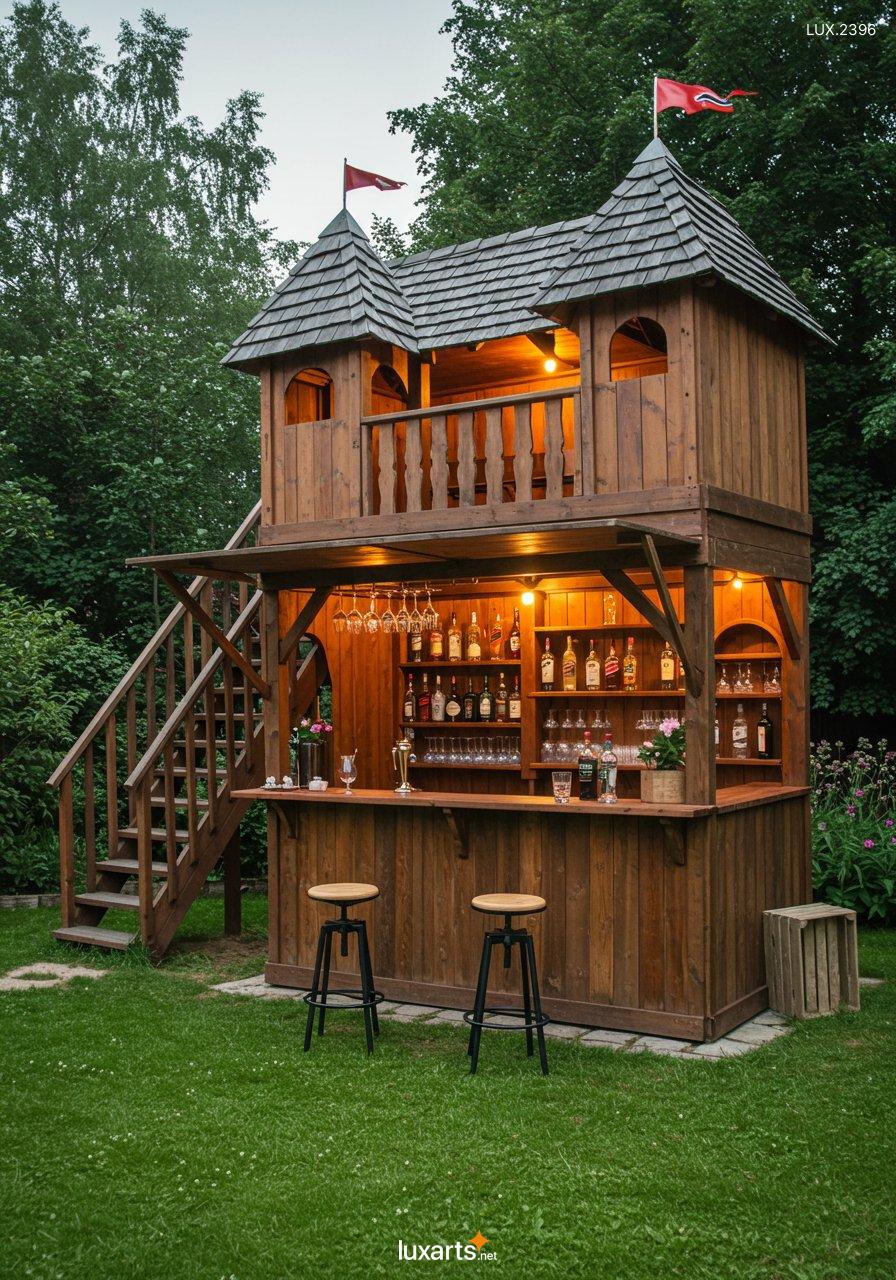
Conclusion: Elevate Your Outdoor Experience with a DIY Backyard Bar
Creating a DIY backyard bar is more than just a home improvement project—it’s an investment in your lifestyle. By providing a dedicated space for entertaining, relaxation, and creativity, it enhances the overall value and enjoyment of your property. With proper planning, thoughtful design, and diligent upkeep, your backyard bar can become the centerpiece of countless memorable moments shared with loved ones.
So why wait? Gather your tools, unleash your imagination, and embark on this fulfilling journey to craft an outdoor oasis that truly feels like home. Cheers to endless summer nights and unforgettable gatherings in your very own DIY backyard bar !
NOTE: All images in this post are AI-generated and intended solely for inspiration. These are not real products available for sale, and we do not operate any online store or website for purchases.
